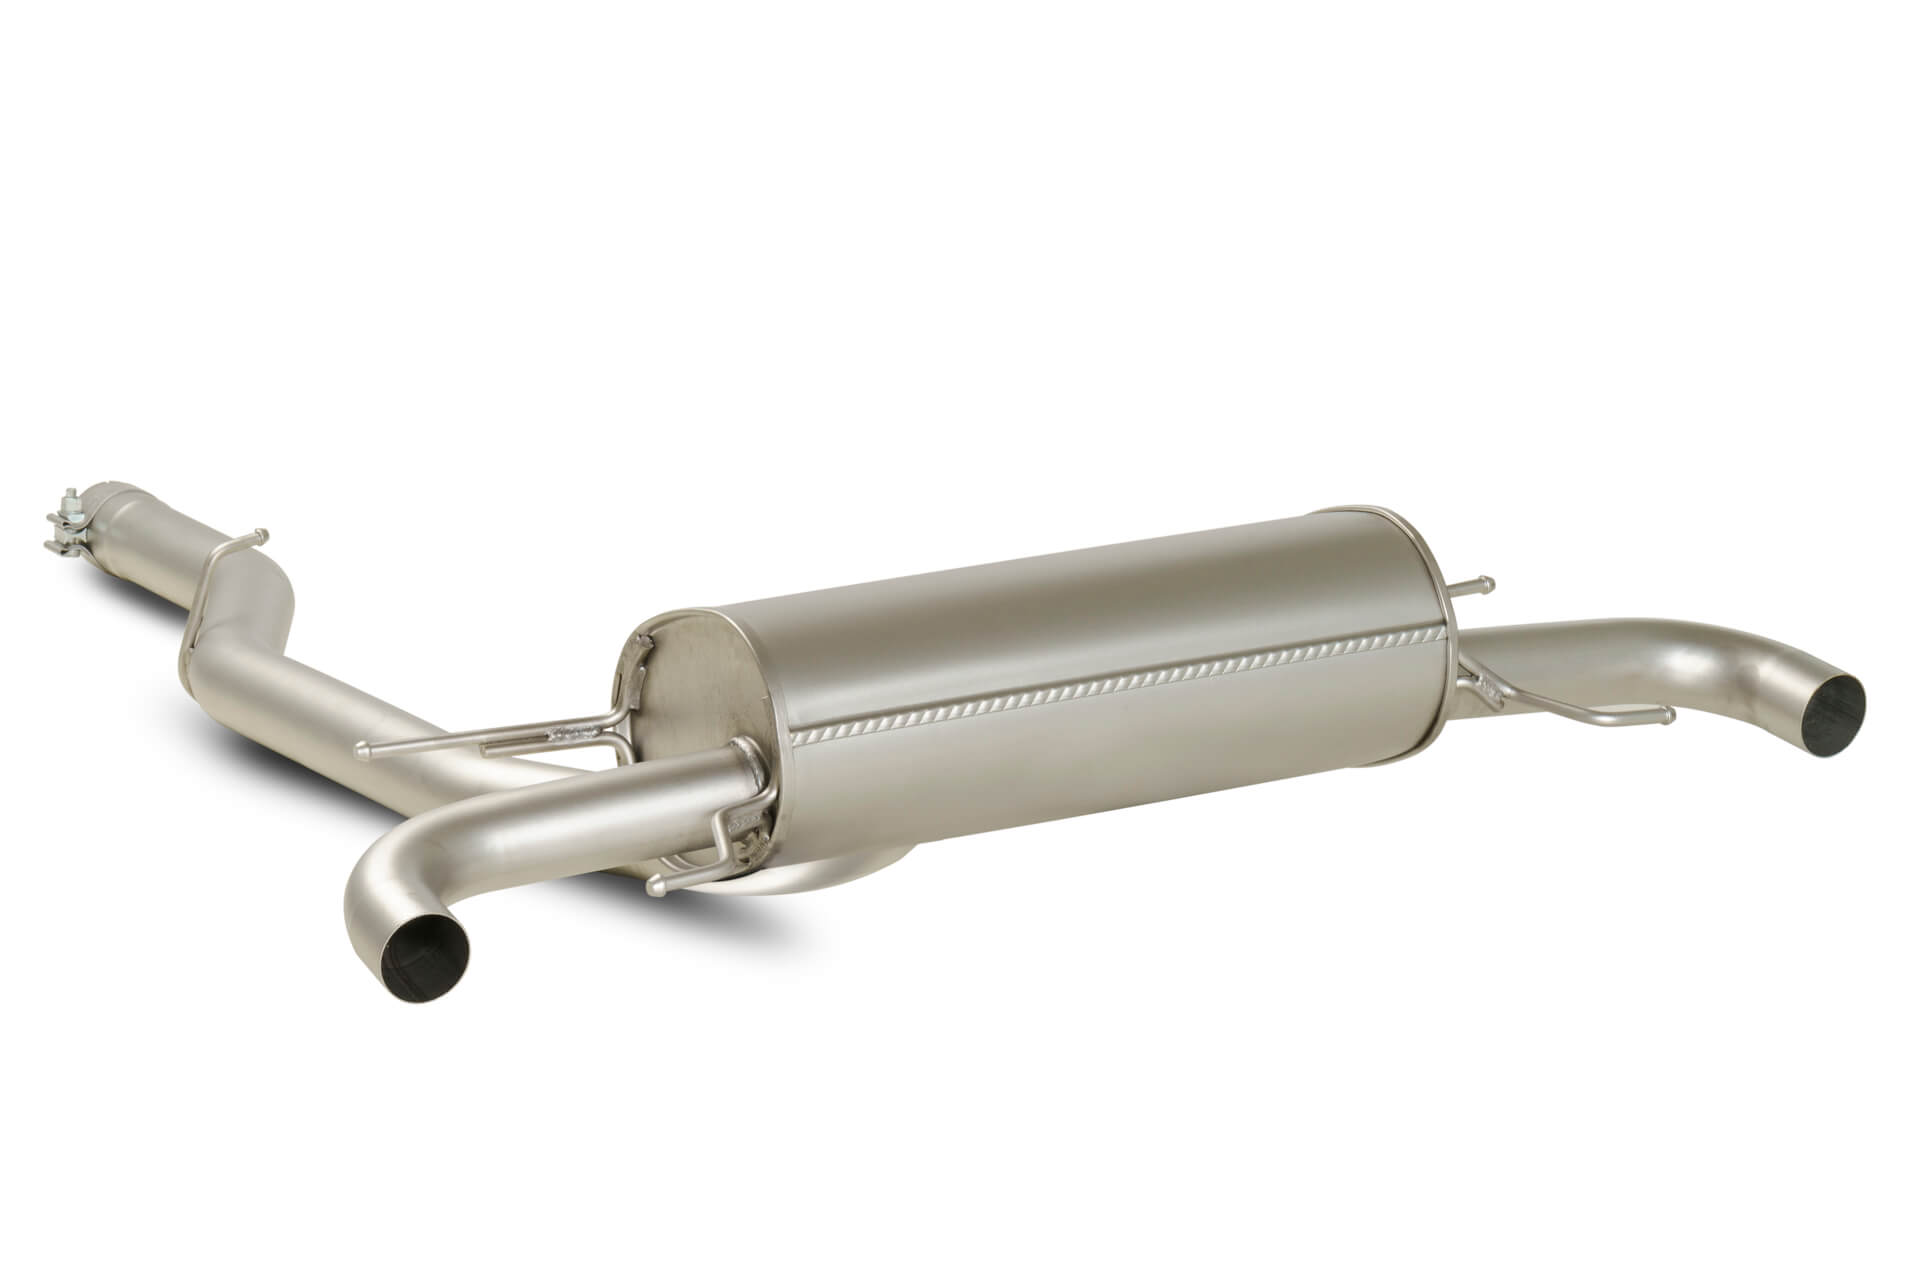
Step by Step: Installing Your Remus Exhaust Like a Pro
21st Nov 2023
Are you a proud owner of a REMUS exhaust system, eager to unleash the full potential of your vehicle's performance and sound? Congratulations on choosing one of the finest exhaust brands in the automotive industry! In this step-by-step guide, we'll walk you through the process of installing your REMUS exhaust system like a pro, ensuring a seamless and satisfying upgrade to your driving experience.

Why REMUS Exhaust?
Before we dive into the installation process, let's take a moment to appreciate why REMUS exhaust systems are highly sought after by car enthusiasts worldwide. Known for their precision engineering, superior materials, and unmatched performance gains, REMUS exhausts deliver a perfect blend of power, sound, and aesthetics. Whether you're aiming for a sportier tone or enhanced horsepower, REMUS has got you covered.
Tools and Materials:
To get started, make sure you have the following tools and materials ready:
- REMUS Exhaust System
- Car Jack and Jack Stands
- Socket Set
- Screwdrivers
- WD-40 or similar lubricant
- Safety Gloves and Glasses
Step 1: Elevate Your Vehicle
Use a car jack to lift your vehicle off the ground and secure it with jack stands. Safety is paramount during the installation process, so make sure your vehicle is stable before proceeding.
Step 2: Locate the Factory Exhaust
Locate the factory exhaust on your vehicle. Depending on your vehicle make and model, the exhaust system may be in one or multiple pieces. Use a socket set to loosen and remove any bolts securing the exhaust to the vehicle.
Step 3: Remove the Old Exhaust
Carefully remove the old exhaust system, taking note of how it is positioned and attached. This step may require some force, so be patient and use WD-40 or a similar lubricant to ease the removal process.
Step 4: Install the REMUS Exhaust
With the old exhaust removed, it's time to install your brand-new REMUS exhaust system. Follow the manufacturer's instructions for proper alignment and attachment. Tighten the bolts securely using your socket set.
Step 5: Double-Check and Adjust
Once the REMUS exhaust is in place, double-check all connections and ensure everything is tightened to specifications. Make any necessary adjustments to ensure the exhaust is properly aligned and secure.
Congratulations! You've successfully installed your REMUS exhaust system and are now ready to hit the road with enhanced performance and a thrilling exhaust note. Regularly inspect your exhaust system for any signs of wear or loose connections to maintain optimal performance.
