DIY Installation Tips for Your Remus Exhaust Upgrade
15th Nov 2023
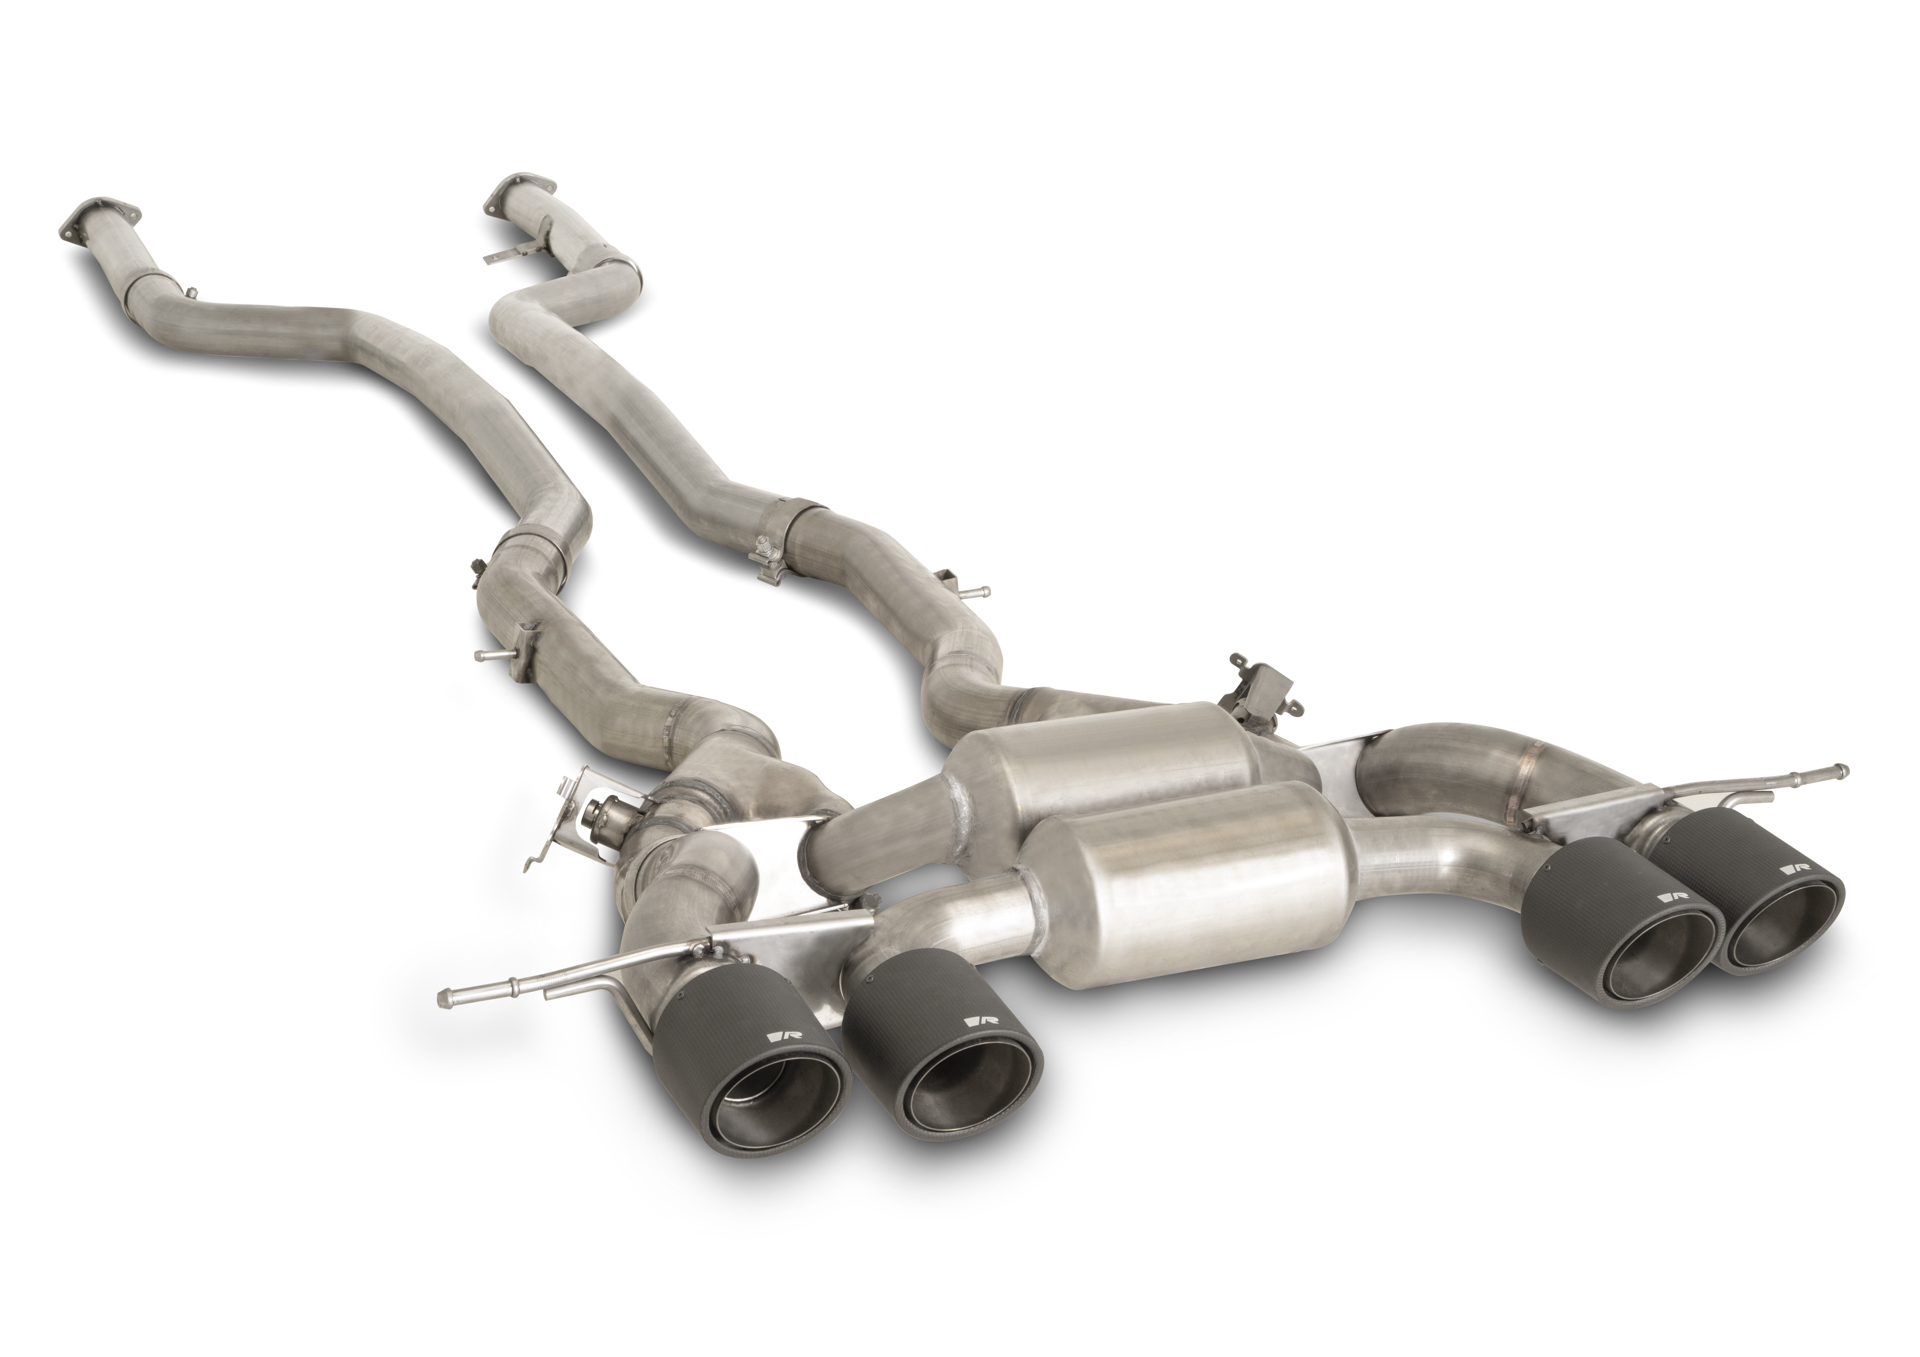
Are you ready to unleash the full potential of your vehicle with a Remus exhaust upgrade? Installing a Remus exhaust system not only enhances your car's performance but also gives it a distinctive, powerful growl. In this comprehensive guide, we'll walk you through the step-by-step process of a DIY installation, ensuring you get the most out of your Remus exhaust.

Why Upgrade to a Remus Exhaust?
Before we dive into the installation process, let's briefly explore why Remus exhaust systems stand out in the automotive world. Renowned for their precision engineering and performance-boosting capabilities, Remus exhausts deliver a perfect blend of power, sound, and style. Whether you're a performance enthusiast or simply looking to give your car a distinctive edge, a Remus exhaust upgrade is a worthwhile investment.
Step 1: Gather Your Tools and Materials
The first step in any successful DIY project is preparation. Before you start installing your Remus exhaust, make sure you have all the necessary tools and materials on hand. This includes jack stands, a wrench set, a rubber mallet, and, of course, your brand-new Remus exhaust kit.
Step 2: Safety First - Lift Your Vehicle Securely
Safety should always be a top priority when working on your vehicle. Properly lift your car using jack stands and ensure it's secure before crawling underneath. This step-by-step guide will help you avoid common pitfalls and ensure a safe installation process.
Step 3: Remove the Old Exhaust System
Out with the old, in with the Remus! Carefully remove your existing exhaust system by loosening the bolts and hangers. A lubricant like WD-40 can be your best friend during this step, making the removal process smoother. Pay close attention to how the old system is configured, as this will guide you during the installation of your new Remus exhaust.
Step 4: Install Your Remus Exhaust System
With the old exhaust out of the way, it's time to install your Remus upgrade. Follow the manufacturer's instructions provided in the kit, ensuring a snug fit. Tighten the bolts securely and double-check all connections to prevent any leaks. The precision engineering of Remus exhaust systems makes this step surprisingly straightforward.
Step 5: Test and Enjoy Your Upgraded Ride
Once your Remus exhaust is securely in place, lower your vehicle and start it up. Revel in the deep, resonant tone and feel the enhanced performance as you hit the road. Take your time to listen for any unusual sounds or vibrations, ensuring your Remus exhaust is performing optimally.
Elevate Your Driving Experience with Remus
Congratulations! You've successfully upgraded your vehicle with a Remus exhaust system. Enjoy the newfound power, improved efficiency, and distinctive sound that comes with this premium upgrade. Whether you're a seasoned DIYer or a first-timer, our step-by-step guide has made the installation process a breeze.
